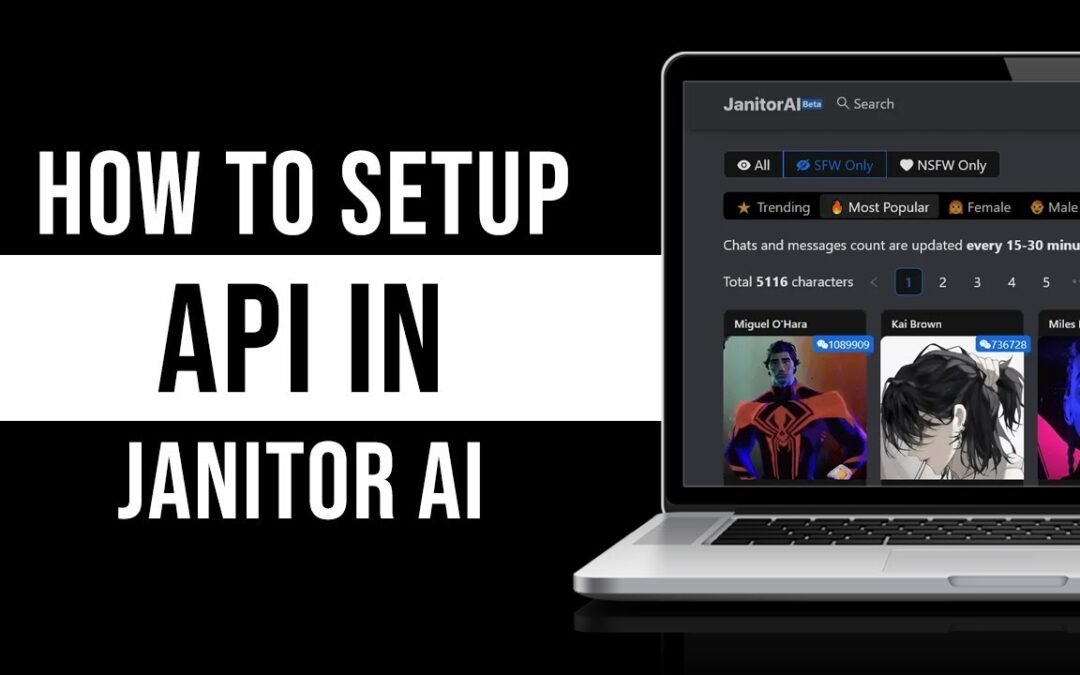
Janitor AI is a powerful tool that allows users to engage in interactive conversations with AI-driven characters. Whether you’re using it for personal enjoyment or professional projects, integrating an API is essential for unlocking its full potential. Here’s how you can set up an API on Janitor AI, whether you’re using OpenAI or Kobold AI.
Sign Up for Janitor AI
Before you can configure an API, you must first create an account on Janitor AI. Here’s how:
- Navigate to the Janitor AI Website: Visit the official Janitor AI website using your preferred web browser.
- Register Your Account: Sign up by providing your email, Twitter, or Discord credentials. These credentials act as your unique identifiers within the Janitor AI ecosystem.
- Login to Access Features: Once registered, log in to your account to access the platform’s various features, including character interaction and API integration.
Obtain an API Key
The API key is a critical component, serving as a unique identifier that allows access to external AI services. Depending on the AI model you want to use, follow these steps:
For OpenAI:
- Visit OpenAI’s Official Website: Open your web browser and go to OpenAI’s site, a leading provider of cutting-edge AI models.
- Sign Up or Log In: Create a new account or log in if you already have one.
- Generate an API Key: Access the API Keys section by selecting it from the dropdown menu under your profile picture. Click “Create New Secret Key,” then name it something recognizable, like “Janitor AI Integration.”
- Secure Your Key: Safeguard this key by storing it in a secure location, as it grants access to OpenAI’s powerful models, including GPT-3 and GPT-4.
For Kobold AI:
- Access the Kobold AI Setup: Use Google Colab, an online platform that allows you to run Python code in your browser, to set up Kobold AI.
- Run the Setup: Initiate the setup process by selecting a model like Nerys V2 6B, which is optimized for text generation. Ensure you configure the settings appropriately (e.g., choosing the correct model and disabling unnecessary options).
- Generate and Copy the API URL: Once the setup is complete, you will receive an API URL. This URL acts as your link to the Kobold AI system, enabling Janitor AI to access its capabilities.
Also Read: Comprehensive Guide to Using Janitor AI with Copy and Paste Prompts
Configure the API in Janitor AI
Once you have your API key or URL, the next step is to configure it within Janitor AI:
- Access API Settings: In Janitor AI, click on the three-line menu icon (often referred to as a “hamburger menu”) to open the settings panel.
- Select Your AI Model: Choose between OpenAI or Kobold AI depending on the key or URL you obtained.
- Enter the API Key/URL: Paste the OpenAI API key or Kobold AI URL into the designated field.
- Save Your Configuration: Click “Save Settings” to ensure that your API is correctly linked, enabling Janitor AI to utilize the selected AI model’s capabilities.
Start Using Janitor AI
Now that the API is configured, you can start interacting with characters on Janitor AI:
- Select a Character: Browse through the available characters on the platform and choose one to interact with.
- Begin the Conversation: With the API in place, your interactions will be more dynamic, allowing for richer, AI-powered conversations. The AI model you’ve integrated will enhance the character’s responses, making them more realistic and engaging.
Also Read: How to Use Janitor AI Without an API Comprehensive Guide
Conclusion
By setting up an API on Janitor AI, you’re not just enabling a feature; you’re unlocking a new level of interaction powered by advanced AI technology. Whether using OpenAI or Kobold AI, the integration process is straightforward yet powerful, allowing for meaningful and dynamic conversations. This setup is a crucial step for anyone looking to fully utilize Janitor AI’s capabilities, providing both a richer user experience and greater functionality.

